It's the first Sunday in the month of February, which means it's Creation Station Design Team Blog Hop time!
Thankyou for joining me. Our theme this month is 'Sale-a-Brate Friendship'... get ready for some amazing projects as you get hopping with the rest of the talented Design Team at the bottom of my post.
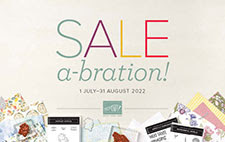
SALE-A-BRATION
*For every $90 and $180 you spend, you’ll earn an exclusive Sale-A-Bration item for free!
Depending on the amount you spend, you’ll be able to mix and match the Sale-A-Bration items you earn. There is a stunning variety of stamp sets and Designer Series Paper for you to choose from.
Now through 29th February.
It all started with a 'Balmy Blue' gift box...
I have used 2 *Sale-A-Bration products; 'Flight & Airy 12" x 12" Designer Series Paper' and the 'Softly Sophisticated Embossing Folder'.
The NEW 'Hooray for Surprises Bundle' also makes an appearance.
I coloured 'Basic White' cardstock with 'Balmy Blue Stampin' Blends Markers', to create an ombre effect, and die cutting with the heart shaped die.
*The heat embossed gold sentiment was stamped prior to die-cutting.
This little blue bird was fussy cut, and I added a second wing to create a 3D feature.
I have added some 'Balmy Blue' ink with a 'Blender Brush' to the edges of the embossed 'Balmy Blue' cardstock.
A few 'Rhinestone Basic Jewels' coloured with 'Dark Balmy Blue Stampin' Blends Marker are added at the end, and the 'Balmy Blue/White 1/2" or 1.3cm Varigated Ribbon is a stunning finish.
INSTRUCTIONS for the Gift Box:
Cardstock measurement: 6-1/4" x 8-1/2" or 15.9cm x 21.5cm
Score on all sides of card base 3/4".
Flip cardstock onto short side and score 3-7/8" & 4-5/8"
Fold score lines, cut to form a box with tabs that fold into each other.
Thankyou for visiting, and I hope you enjoyed my creation?
Looking forward to seeing you next month for our March hop. D x
Product List:


 First up is a simple layout.
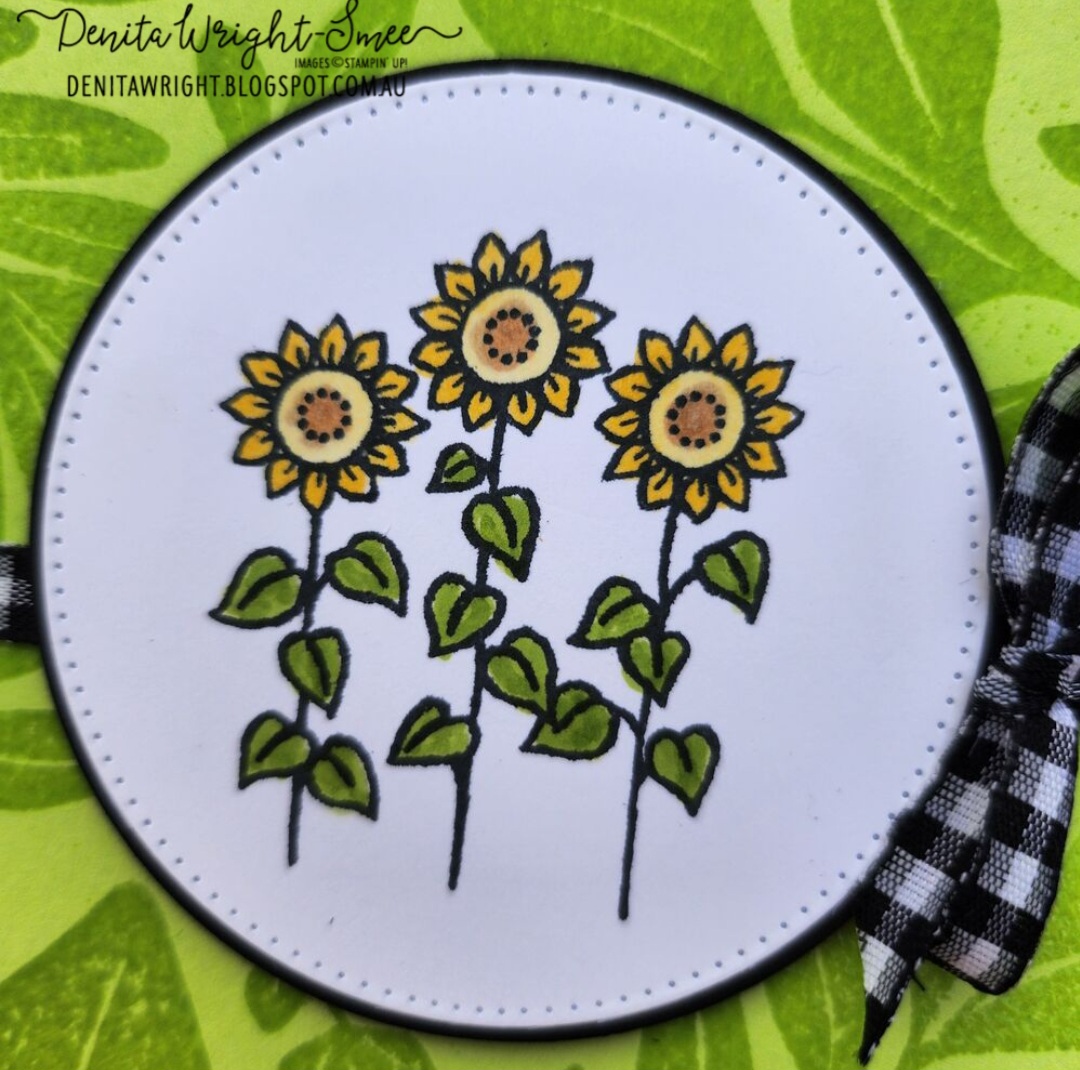


 Circle Punch")


")


 Gingham Ribbon")


")

 Designer Series Paper")
")
")


")
 Designer Series Paper")
")


 Variegated Ribbon")